Synoshi Power Scrubber
How to clean tile shower grout and remove stubborn soap scum stains safely
Last updated: October 17, 2026 8:00:00 AM
Learn how to safely clean your tile shower grout using simple household ingredients. Follow these easy steps to remove stubborn soap scum stains without damaging your surfaces.
To clean tile shower grout and remove stubborn soap scum stains safely, you need to combine gentle mechanical agitation with mild chemical action using ordinary household items like baking soda and white vinegar. This straightforward method breaks down oily residue and mineral buildup without damaging delicate tiles or eroding the cement binder holding your shower together.
Tackling a neglected shower can feel daunting, but a methodical approach turns a frustrating chore into a manageable project. Shower surfaces accumulate layers of body oils, mineral deposits from hard water, and leftover residue from daily washing. When these elements settle into porous grout lines, they create a tough, discolored film that resists simple rinsing. Restoring the brightness of your tile requires understanding how to lift this grime without resorting to harsh, abrasive chemicals that can scratch surfaces and release irritating fumes into your home.
Prepare the space and mix the cleaning paste
Begin by clearing everything out of the shower stall, including shampoo bottles, soap dishes, and bath mats, to give yourself an unobstructed workspace. Take a few minutes to rinse down the entire shower with warm water. This initial rinse washes away loose surface dirt and hair, and it also dampens the grout lines, which prevents them from absorbing your cleaning mixtures too quickly.
Next, prepare a thick paste by combining baking soda with a small amount of water in a small container. You want the consistency to resemble frosting or toothpaste so that it clings easily to vertical walls and inclined shower floors without immediately sliding off. Baking soda acts as a mild abrasive that physically lifts stubborn soap scum and ground-in dirt without scratching ceramic, porcelain, or stone tiles.
Scoop up portions of the paste with a soft sponge or a gloved hand and apply it generously along all the grout lines. Pay special attention to corners, lower wall sections, and the floor, where soap scum and moisture tend to accumulate most heavily. For stubborn soap scum stains resting directly on the tiles, you can spread a thin layer of the paste across the flat surfaces as well. Allow the paste to sit undisturbed for about ten to fifteen minutes. This resting period allows the alkaline properties of the baking soda to begin breaking down the fatty acids found in soap residue and softening the stubborn buildup trapped within the porous structure of the grout.
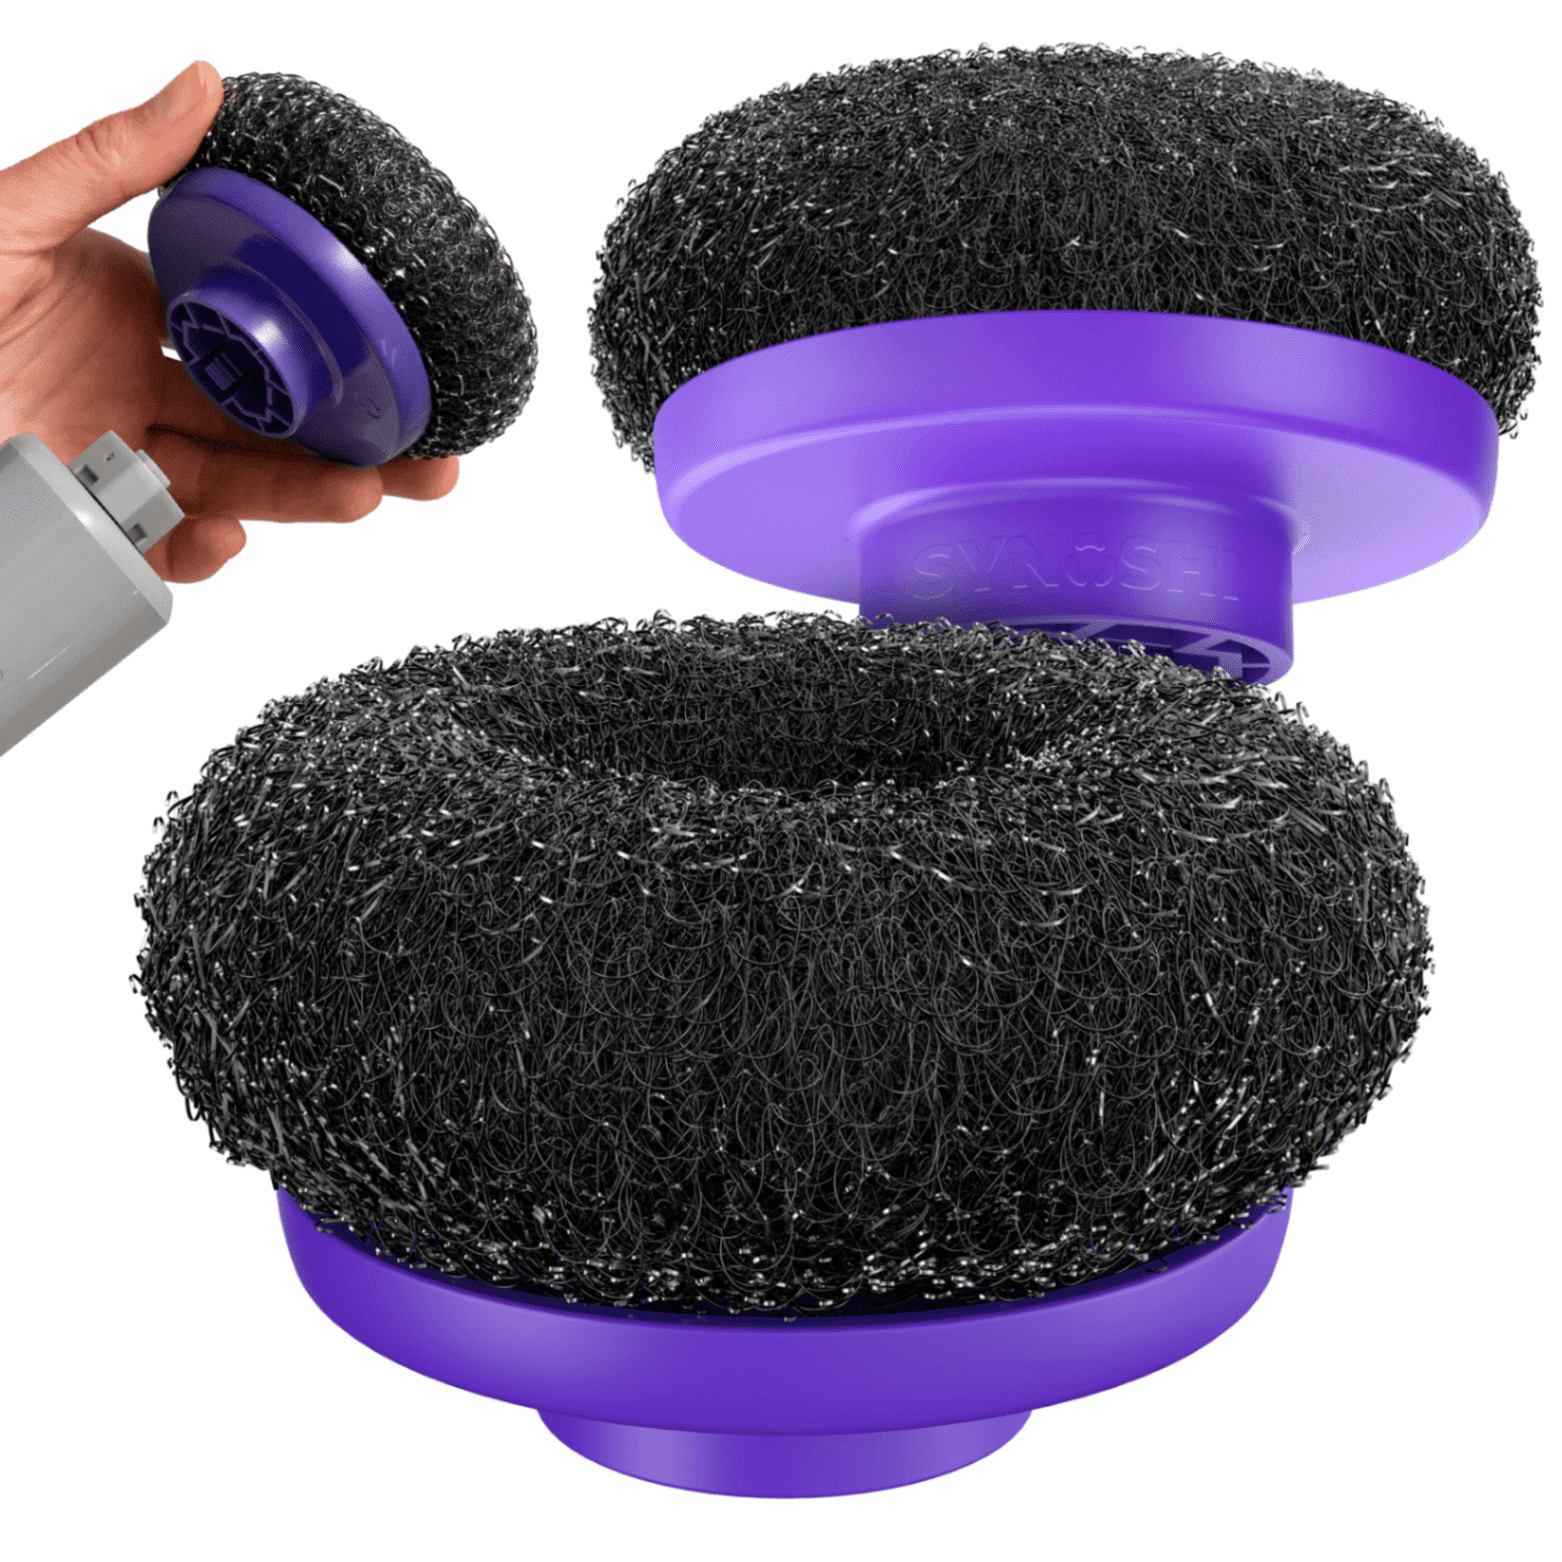
Scr Long Handle Shower Scrubber with 9 Replaceable Heads - 2 Speed Cordless Brush Ensures Long Battery Life, Modern Design! …Read more ub the grout lines and rinse the surfaces
Once the baking soda paste has had time to dwell, take a scrub brush with firm, flexible bristles to work the paste into the grout lines. Move the brush in gentle, circular motions rather than harsh, back-and-forth sawing strokes, which can prematurely wear down the cementitious material. The goal is to let the bristles and the gritty texture of the baking soda do the heavy lifting of dislodging the softened grime from the microscopic crevices of the grout.
As you scrub, you will likely notice the white paste turning a grayish-brown color as it lifts away accumulat Oct 16, 2026 · 4 days ago · In the best of all possible worlds, no one would be without food and clean water. I have a wonderful family and a great … ed oils and dirt. If you encounter particularly stubborn stains that refuse to budge, apply a little more paste directly to the spot and let it sit for a few additional minutes before resuming your scrubbing efforts. Be sure to reach into all the corners and intersection points where mold, mildew, and soap scum frequently hide out of sight.
After you have thoroughly scrubbed every section of the shower, take a bucket of clean, warm water or use a handheld shower nozzle to rinse the entire stall from top to bottom. Direct the flow of water systematically to wash away all the loosened debris, lingering soap scum, and residual baking soda paste. Inspect the tiles and grout lines closely as the water washes them clean. If any hazy film remains, wipe those areas down with a damp cloth or give them a second light rinse to ensure the surfaces are completely free of residue.
Neutralize and p BEST | English meaning - Cambridge Dictionary best adjective, adverb (HIGHEST QUALITY) of the highest quality, to the greatest degree, in the most effective … olish the shower enclosure
The final stage ensures your shower stays clean longer and prevents any residual cleaning agents from leaving a dull film on your tiles. Pour ordinary white vinegar into a clean spray bottle. Lightly mist the vinegar over the damp grout lines and tiled surfaces. You will likely hear a mild fizzing sound as the acidic vinegar reacts with the remaining baking soda. This gentle chemical reaction neutralizes any lingering alkalinity and helps dissolve any remaining mineral spots or soap scum that survived the initial scrubbing phase.
Let the vinegar sit on the surfaces for just a few minutes, but do not allow it to dry completely. While it is working, take a clean, non-abrasive sponge or a microfiber cloth and wipe down the walls and floor of the shower. This step helps polish the tiles to a clear shine and removes any loosened mineral deposits.
Finish the process by rinsing the entire shower thoroughly one last time with cool or warm water. Once rinsed, take a dry towel or a squeegee to remove excess moisture from the walls and glass doors. Drying the shower immediately afterward prevents water spots from forming as the space air-dries and helps maintain the clean finish you just worked to achieve. Leaving the bathroom door or window open for a short while afterward encourages good airflow, helping the grout dry completely and reducing the ambient humidity that invites future buildup.
Frequently BEST | English meaning - Cambridge Dictionary asked questions
Can I use vinegar and baking soda together at the same time?
Mixing these two ingredients causes an immediate bubbling reaction that neutralizes both substances, turning them mostly into water and a salt solution, which reduces their individual cleaning effectiveness. Applying the baking soda first allows its abrasive and grease-cutting qualities to tackle the physical grime, while spraying the vinegar afterward helps neutralize any alkaline residue and dissolves leftover minerals. Using them sequentially rather than mixing them together in a bowl yields much better results for breaking down stubborn shower buildup.
How often should I deep clean my shower grout?
The frequency of deep cleaning depe Best Buy | Official Online Store | Shop Now & Save Shop Best Buy for electronics, computers, appliances, cell phones, video games & more new tech. Store pickup … nds heavily on how often the shower is used and the mineral content of your local water supply. For an average household, thoroughly cleaning and scrubbing the grout lines every few weeks keeps soap scum and discoloration from becoming deeply embedded. Wiping down the shower walls with a squeegee or a towel after each use significantly extends the time needed between these more intensive cleaning sessions by stopping moisture and soap residue from settling into the porous surfaces.
Will vinegar damage natural stone tiles in my shower?
The acidity in vinegar can etch, dull, and permanently damage sensitive natural stone surfaces such as marble, travertine, limestone, and slate. If your shower features natural stone tiles, you should avoid using vinegar entirely and instead rely strictly on the baking soda paste followed by a thorough rinsing with plain water. Checking the manufacturer guidelines for your specific tile material before applying any acidic cleaner prevents accidental chemical damage to your bathroom finishes.
What causes grout to change color over time?
Grout is a porous material made from a mixture of cement and sand, meaning it easily absorbs liquids, body oils, shampoo residue, and hard water minerals. As these substances settle deep into the microscopic pores, they attract dust and dirt, leading to a dark, dingy appearance that regular daily rinsing cannot reach. Additionally, constant exposure to moisture creates an ideal environment for mold and mildew to grow beneath the surface, further altering the original color of the grout lines.
Is it safe to use metal tools to scrape stubborn grout s Oct 13, 2026 · Use the Best Buy store locator to find stores in your area. Then, visit each Best Buy store's page to see store hours, directions, … tains?
Metal tools like wire brushes, putty knives, or razor blades should never be used on tile or grout because they easily scratch ceramic surfaces, gouge out the cement grout, and compromise the waterproof integrity of your shower installation. Sticking to soft nylon-bristled brushes, sponges, and microfiber cloths ensures you can apply the necessary scrubbing pressure without risking permanent structural damage to your bathroom tiles or the surrounding seals.