Synoshi Power Scrubber
How to restore dull stained kitchen tile grout without harsh chemicals
Last updated: October 17, 2026 8:00:00 AM
You can easily brighten and clean your kitchen tile grout using simple household ingredients instead of harsh chemicals. Follow these straightforward steps to remove stubborn stains and restore the original shine of your floors.
To restore dull stained kitchen tile grout without harsh chemicals, you should use pantry staples like baking soda and hydrogen peroxide combined with simple physical scrubbing. This approach lifts discoloration and brightens light-colored lines safely without releasing strong fumes or damaging surrounding surfaces. Kitchen tile grout naturally collects grease, cooking oil splashes, and foot traffic grime over time. Because grout is porous, it absorbs these spills deeply rather than letting them sit on the surface, which causes the lines between tiles to look dark, dingy, and patchy. While commercial cleaners promise quick fixes, many rely on heavy acids or chlorine that can etch natural stone tiles, degrade the grout over time, and irritate your skin and lungs. A gentler, natural method relies on mild abrasives and safe oxidizing agents that break down organic stains without aggressive toxicity. By working in deliberate phases, you can safely lift years of accumulated dirt and restore the original brightness of your kitchen floor or backsplash.
Prep the surface and mix the cleaning paste
Before you apply any cleaning solution to your kitchen tile grout, you must clear away loose debris, dust, and crumbs so they do not turn into a muddy paste when mixed with your cleaning agents. Sweep the floor thoroughly or wipe down the wall tiles with a dry microfiber cloth. Pay special attention to the corners and the edges where baseboards meet the tile, as dust tends to accumulate heavily in these areas. Once the surface is free of loose dirt, take a damp sponge and wipe down the entire tiled area to moisten the grout lines slightly. This initial dampening prevents dry grout from soaking up all the moisture from your cleaning paste too quickly, allowing the mixture to stay active on the surface longer.
Next, prepare a simple, effective cleaning paste using everyday household ingredients. In a small mixing bowl, combine baking soda with enough plain water or standard hydrogen peroxide to form a thick, spreadable paste. The consistency should resemble cake frosting or smooth peanut butter so that it clings to vertical backsplash lines without immediately sliding down onto the floor, and stays put on horizontal floor grout without running away. Baking soda acts as a mild abrasive that physically lifts grease and grime without scratching the glaze on ceramic or porcelain tiles, while the liquid component provides the moisture needed to carry the cleaning agents deep into the porous structure of the grout.
Apply this homemade paste directly along the length of the stained grout lines. You can use an old toothbrush, a small utility brush, or even a gloved finger to press the mixture firmly into the depressed channels between the tiles. Ensure every dull and discolored section is completely covered by a visible layer of the white paste. Do not worry if some paste smears onto the edges of the tiles, as it will be wiped away later during the rinsing phase. Allow the paste to sit undisturbed for a period of time, typically ranging from fifteen to thirty minutes, giving the mild ingredients enough time to penetrate and loosen stubborn oils and food residues trapped within the porous mortar.
Scrub the grout lines and lift the stains
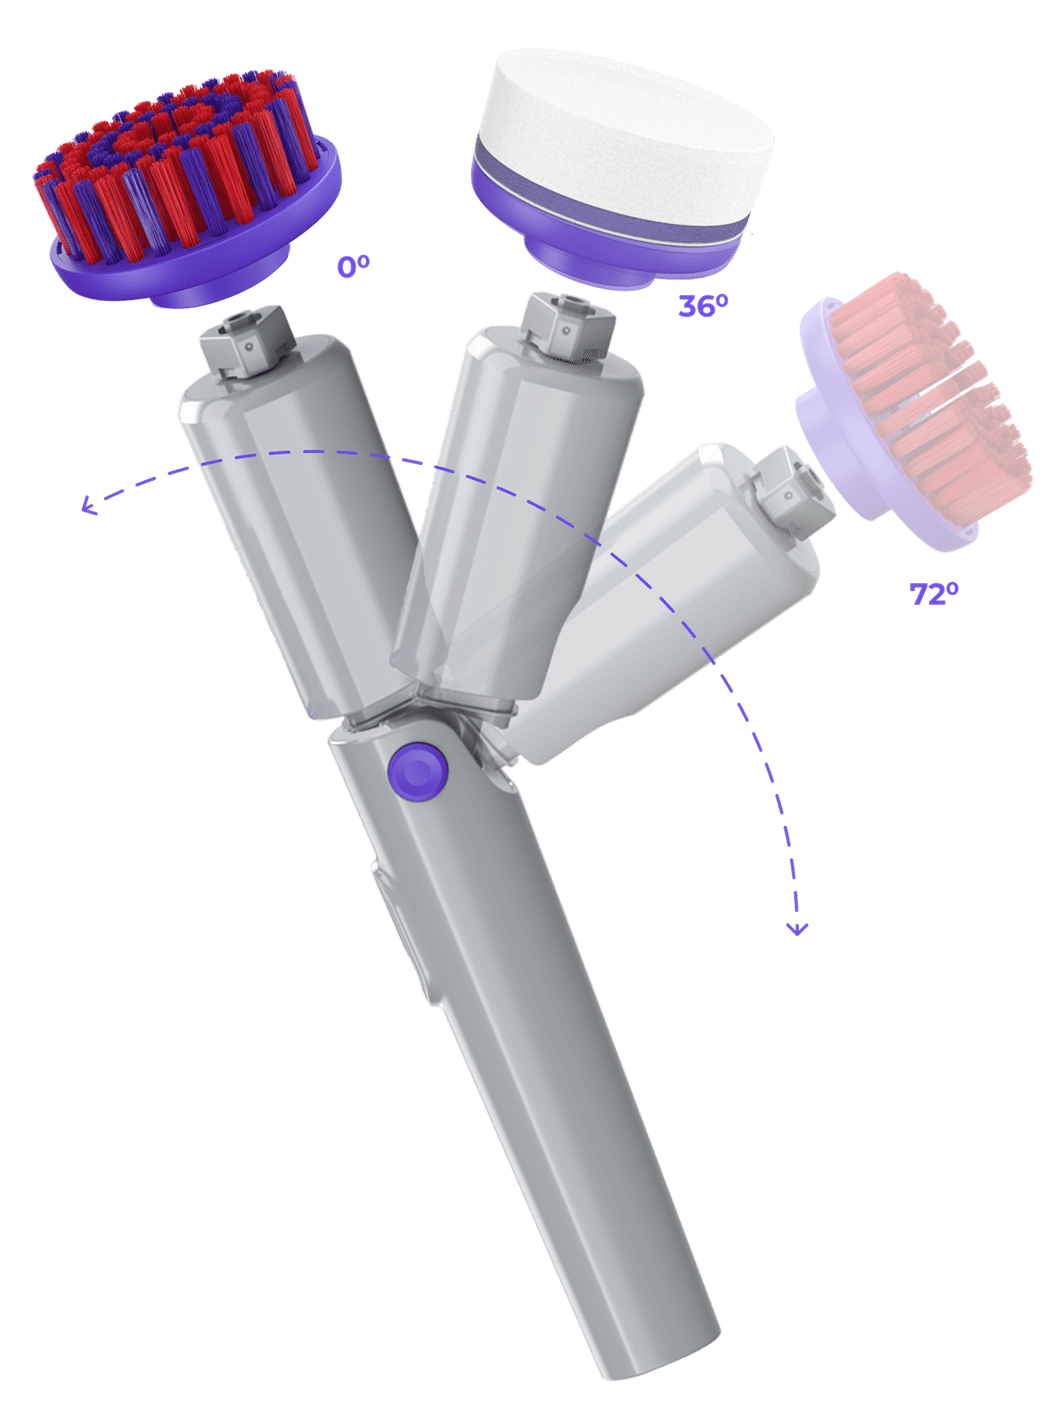
After the cleaning paste has had sufficient time to dwell on the surface, the next step is to manually agitate the mixture to lift the loosened stains out of the grout. Take your cleaning brush and scrub back and forth along the grout lines using short, firm strokes. The physical friction of the bristles working against the mild abrasive paste is what ultimately dislodges the embedded grime. You will likely notice the white paste turning a grayish or brownish color as it pulls trapped dirt and cooking oils out of the porous material.
Keep your movements focused directly on the grout channels rather than the flat surface of the tiles, as the tiles themselves usually only require a simple wipe-down later. If you are cleaning a large kitchen floor, it is best to work in manageable sections, such as a three-foot by three-foot area at a time, to prevent the paste from drying out completely before you have a chance to scrub it. For particularly stubborn stains ar Best Buy | Official Online Store | Shop Now & Save Shop Best Buy for electronics, computers, appliances, cell phones, video games & more new tech. Store pickup … ound the stove where grease splatters are heavy, you may need to apply a bit of extra pressure or let a fresh batch of paste sit for a second round of treatment.
As you finish scrubbing a section, take a damp cloth or sponge to wipe away the spent paste and the suspended dirt. Rinse your sponge frequently in a bucket of clean water to ensure you are lifting the residue away rather than just smearing it across the tile and grout lines. Take your time during this wiping phase to make sure all the gritty baking soda residue is completely removed. Once the area has been wiped down, dry the surface with a clean towel to inspect your work and see if any shadowed stains remain.
Rinse the area and dry the surface
The final stage of the restoration process involves thoroughly rinsing the entire kitchen tile installation to remove any remaining traces of the cleaning paste. Fill a bucket with warm water and use a clean sponge or mop to go over the entire tiled area. Change the water in your bucket as soon as it begins to look cloudy or dirty. Residual baking soda left behind on the floor or wall can dry into a faint, chalky haze that dulls the natural shine of your tiles, so a thorough, clean-water rinse is essential for achieving a bright, clear finish.
After the chemical-free wash and rinse, drying the floor or backsplash completely is an important finishing touch. Take a dry, absorbent towel or a clean microfiber mop and run it over the tiled surface. Drying the area prevents water spots from forming on the tiles and stops moisture from settling back into the freshly cleaned grout lines while they are still somewhat damp.
Once everything is fully dry, take a moment to inspect the results. The grout lines should look noticeably lighter, brighter, and free of the dull, greasy film that accumulated over months of cooking and daily use. By avoiding harsh chemicals, you have successfully refreshed your kitchen surfaces while keeping your indoor air free of strong fumes and protecting the integrity of the surrounding material Best Buy | Official Online Store | Shop Now & Save s.
Frequently asked questions
How often should I clean my kitchen tile grout using this method?
The frequency of this cleaning process depends largely on how heavily your kitchen is used and the specific layout of your space. High-traffic kitchen floors or backsplashes situated directly behind a busy stovetop generally require a deep cleaning every few months to prevent heavy grease buildup. For lighter maintenance, simply wiping the tiles and grout lines regularly with plain water and a mild dish soap after cooking can help extend the time between deeper restoration sessions.
Can this natural cleaning method damage my kitchen tiles?
This approach is generally safe for standard ceramic and porcelain tiles because the ingredients used are chemically mild and non-acidic. However, if you have natural stone tiles such as marble, travertine, or limestone, you must exercise caution with any cleaning agent, as these stones are sensitive to even mild alkaline substances like baking soda. Always test any homemade mixture on a small, hidden corner of your tiled surface before applying it to the entire kitchen.
What causes kitchen grout to beco 6 days ago · In the best of all possible worlds, no one would be without food and clean water. I have a wonderful family and a great … me dull and stained in the first place?
Grout is nat BEST Definition & Meaning - Merriam-Webster 4 days ago · In the best of all possible worlds, no one would be without food and clean water. I have a wonderful … urally porous, meaning it features microscopic holes and channels that readily absorb liquids, airborne grease particles, and fine dust. When you cook, microscopic oil droplets travel through the air and settle onto the floor and walls, eventually finding their way into the unsealed grout lines. Over time, these trapped oils attract dirt and foot traffic residue, turning the original color of the grout into a dark, discolored shade.
Is it necessary to seal the grout after cleaning it?
Applying a liquid grout sealer after a thorough cleaning is an optional step, but it provides long-term benefits for kitchen maintenance. A quality sealer fills the microscopic pores in the grout lines, creating a protective barrier that repels water, oils, and spills. This prevents future stains from sinking deeply into the material, making your routine weekly cleaning tasks much easier and keeping the grout looking brighter for a longer period.
What should I do if the stains do BEST | English meaning - Cambridge Dictionary not come out on the first try?
If certain dark spots or grease stains remain stubborn after your initial attempt, do not rush to use stronger chemical alternatives. Simply repeat the process by applying a fresh layer of the cleaning paste, allowing it to dwell for a slightly longer period before scrubbing. Sometimes older stains that have penetrated deeply into the mortar require a second application to fully lift out of the porous mat Best Buy | Official Online Store | Shop Now & Save Shop Best Buy for electronics, computers, appliances, cell phones, video games & more new tech. Store pickup … erial without damaging the surrounding area.