Synoshi Power Scrubber
When should you strip and seal indoor quarry tile flooring surfaces?
Last updated: October 17, 2026 8:00:00 AM
Quarry tile floors should be stripped and sealed when they look dull, stained, or difficult to clean with regular methods. This maintenance is usually required every few years depending on the amount of foot traffic the surface receives.
You should strip and seal indoor quarry tile flooring surfaces when the existing protective finish has worn away, allowing moisture, dirt, and stains to penetrate the porous clay body. This maintenance procedure becomes necessary every few years, depending on foot traffic and cleaning routines, to restore the floor's resilience and natural warmth.
Quarry tile has graced homes, kitchens, sunrooms, and entryways for generations. Fired from natural clay, these rustic tiles offer a durable and earthy aesthetic that modern synthetic flooring often struggles to replicate. However, because they are made of unglazed or lightly finished clay, quarry tiles are inherently porous. Without a proper barrier, they readily absorb spills, oils, and ground-in dirt. Stripping away old, degraded sealants and applying fresh ones is the ultimate way to reset the life of the floor, protecting it from permanent damage while bringing back its original depth of color.
Recognizing the Signs of Wear and Failure
The first step in deciding whether to undertake this intensive floor care project is learning to read the surface of the tile. Over time, heavy foot traffic, abrasive grit, and harsh cleaning agents break down the chemical defenses of the sealer. When this happens, the floor stops repelling liquids. If you spill a few drops of water on the tile and it darkens the stone within a minute or two, the protective barrier has failed. Water should bead on the surface rather than soaking in.
Another clear indicator is the appearance of dull patches, stubborn gray scuffs that refuse to mop away, and a general lackluster look across high-traffic paths. Sometimes, previous owners or occupants applied topical waxes over dirt, leading to a yellowed, cloudy, or blotchy appearance. When routine mopping and scrubbing fail to lift this haze, surface cleaning is no longer enough. The old layers must be completely stripped off. Ignoring these warning signs allows moisture to become trapped beneath the surface or inside the grout lines, which can lead to efflorescence—a white, powdery mineral deposit—or even structural degradation of the tile edges over time.
Preparing and Executing the Stripping Process
Once you determine that stripping and sealing is necessary, the process requires patience, proper ventilation, and the right physical tools. Stripping involves breaking the bond of the old sealer and lifting embedded grime out of the microscopic pores of the clay. Begin by thoroughly sweeping and vacuuming the room to remove all loose debris and dust that could scratch the tiles during scrubbing.
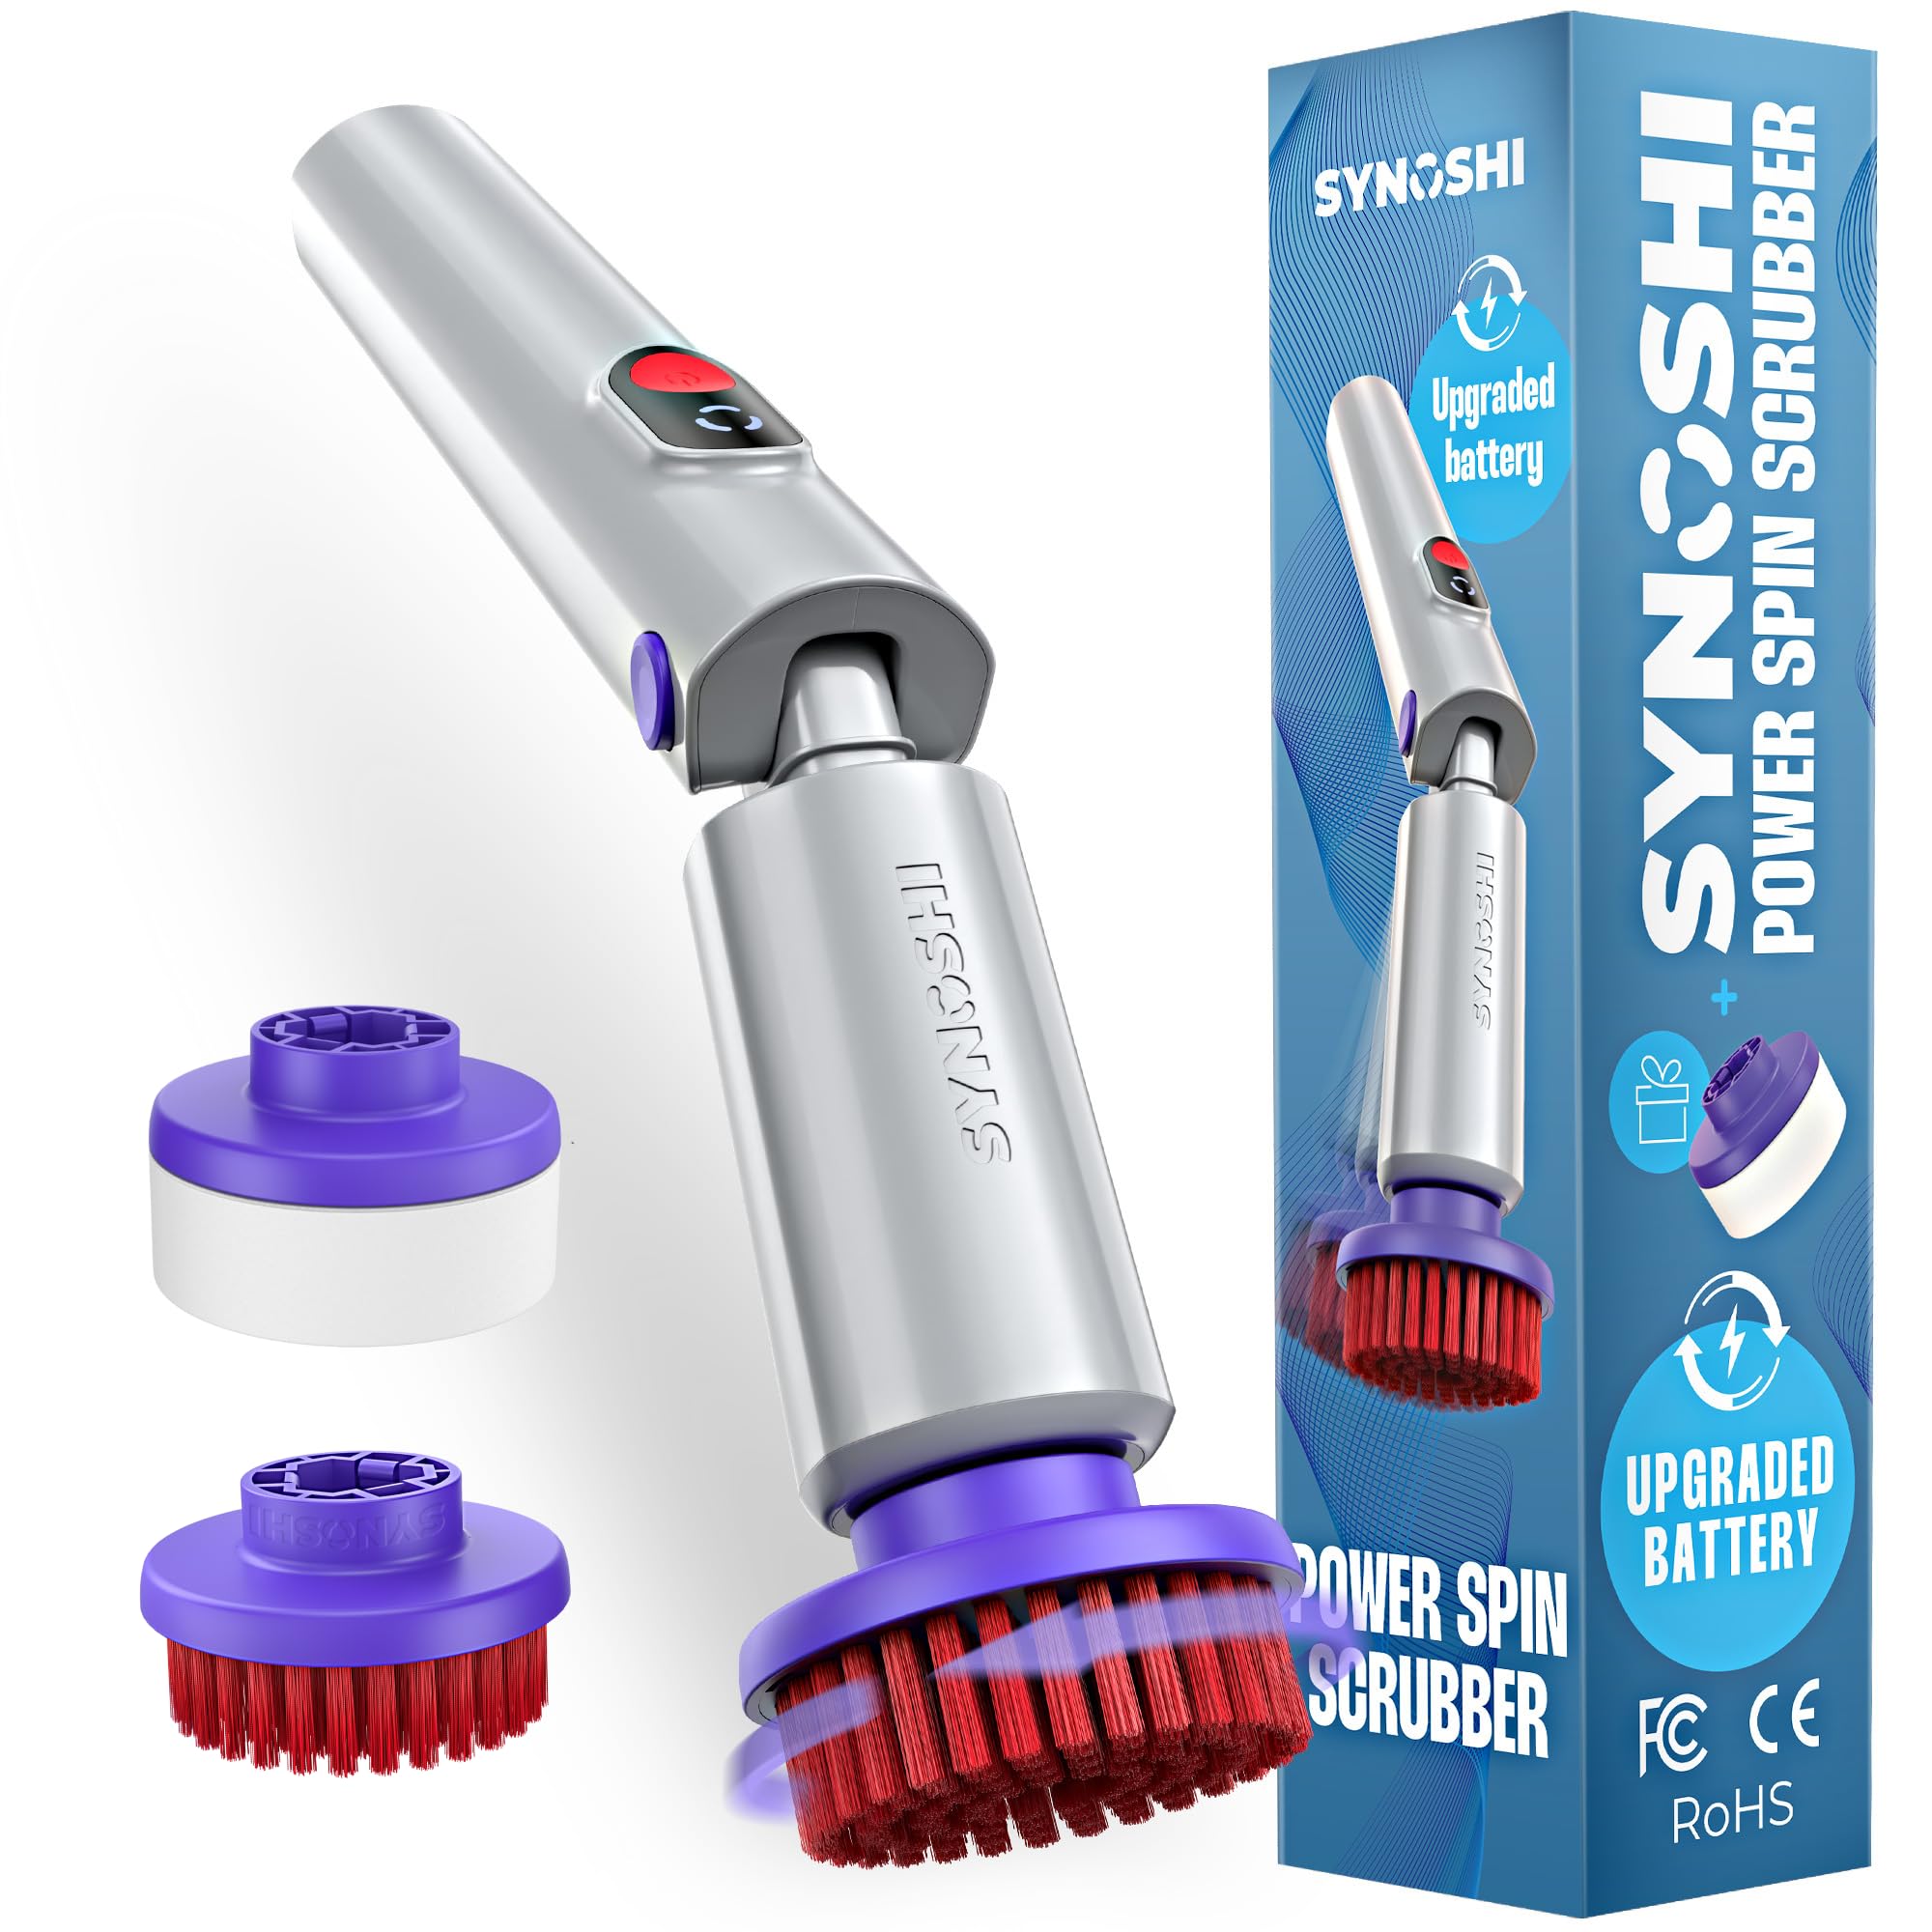
Apply a specialized stripping solution designed for porous masonry and tile. Work in manageable sections so the chemical solution does not dry Oct 16, 2026 · BEST Definition & Meaning - Merriam-Webster 4 days ago · In the best of all possible worlds, no one would be without food and clean water. I have a wonderful … out before you can agitate it. Using a stiff-bristle brush or a floor-scrubbing machine, work the solution across the tiles and into the grout lines to loosen the old finish. You will notice the water turning milky or discolored as the old sealer and trapped dirt dissolve.
Immediately extract the slurry using a wet-dry vacuum or wipe it up thoroughly with clean microfiber towels. Do not let the dirty residue dry back onto the floor. Follow this with a thorough rinsing phase using clean water, repeating the wipe and rinse cycle until the floor is entirely free of chemical residue. Allow t Oct 6, 2026 · In the best of all possible worlds, no one would be without food and clean water. I have a wonderful family and a great … he quarry tile to dry completely. This drying phase is crucial; sealing a damp floor will trap moisture underneath, resulting in cloudy patches or bubbling beneath the new protective coat.
Applying the New Protective Barrier
With the quarry tile clean, stripped of old residues, and completely dry, you are ready to apply the fresh protective barrier. The choice of finish depends on the look you want to achieve, ranging from a natural, matte appearance that preserves the raw clay look to a deeper, satin or high-gloss finish that enhances the rich reds, browns, and grays of the natural stone.
Pour the liquid sealer into a shallow tray and apply it in thin, even coats using a sponge applicator, a lint-free pad, or a paint roller designed for smooth surfaces. Avoid pouring puddles directly onto the floor, as uneven application can dry into sticky spots or streaks. Work methodically across the room, maintaining a wet edge to overlap strokes smoothly.
Porous quarry tile typically drinks up the first coat quite rapidly. Once the first layer is completely dry to the touch—usually taking anywhere from thirty minutes to a couple of hours depending on ambient humidity—apply a second coat perpendicular to th Oct 17, 2026 · 3873 Grand Ave - Electronics, Appliances & More - Best Buy e first. This cross-hatching technique ensures complete coverage and fills any microscopic gaps left during the initial pass. Most indoor residential installations benefit from two to three thin coats rather than one thick, heavy layer. Once the final coat cures fully, which can take up to twenty-four hours of restricted foot traffic, the floor will repel spills easily, resist everyday scuffing, and showcase the timeless, rugged charm of the natural clay for years to come.
Frequently Asked Questions
How do I know if my quarry tile is glazed or unglazed?
Unglazed quarry tile has a porous, matte texture all the way through the body of the tile, meaning the top surface and the chipped edge look identical in color and composition. Glazed quarry tile features a shiny or distinctly colored glass-like layer baked onto the top surface, which prevents liquids from soaking in and changes how the tile needs to be cleaned and sealed.
Can I apply a new coat of sealer without stripping the old one first?
Applying a fresh coat over an existing barrier is only acceptable if the old finish is clean, fully bonded, and uniformly intact across the entire floor. If the old sealer is peeli Oct 16, 2026 · 4 days ago · In the best of all possible worlds, no one would be without food and clean water. I have a wonderful family and a great … ng, yellowed, worn away in high-traffic paths, or trapping dirt underneath, adding more layers will simply seal in the grime and create an uneven, unsightly finish.
How long must I wait between stripping the floor and applying the sealer?
The quarry tile and the surrounding grout lines must be completely dry before any protective finish is applied, which generally requires waiting anywhere from twelve to twenty-four hours. Testing the moisture level or simply waiting Oct 12, 2026 · BEST Definition & Meaning - Merriam-Webster a full day ensures that trapped water does not compromise the adhesion or clarity of the new seal.
What kind of daily maintenanc Oct 13, 2026 · BEST Definition & Meaning - Merriam-Webster Oct 6, 2026 · In the best of all possible worlds, no one would be without food and clean water. I have a wonderful … e helps prolong the life of the sealant?
Routine sweeping or dust-mopping prevents abrasive dirt particles from acting like sandpaper against the protective finish under foot traffic. When washing the floor, use a mild, neutral cleaner formulated for stone or tile rather than harsh househ Best Buy | Official Online Store | Shop Now & Save Shop Best Buy for electronics, computers, appliances, cell phones, video games & more new tech. Store pickup … old detergents that can break down the sealant prematurely.
Why do some areas of the floor look cloudy after the new sealer dries?
Cloudiness usually occurs because moisture was trapped beneath the surface during the drying phase, or because the previous layer of wax and dirt was not completely stripped away before the new application. To fix this, the affected area may need to be chemically stripped back down to the bare clay, allowed to dry thoroughly, and resealed correctly.